Choosing the Right Grout: Types, Trends & Application Tips
The world of construction and home improvement is constantly evolving, with market analyses indicating ongoing advancements in tile joint grouts, highlighting their critical role in both structural integrity and aesthetic design. While often viewed as a mere finishing touch, choosing the right grout is paramount for the durability, cleanliness, and overall appearance of any tiled surface. From protecting tile edges to resisting moisture and stains, grout plays a significant functional role.
Understanding the various types of tile grout available, their unique properties, and specific application considerations is key for both DIY enthusiasts and seasoned professionals aiming for a long-lasting, high-quality result. This guide will walk you through the essential information to make an informed decision for your next tiling project.
Understanding Grout: More Than Just a Filler
Grout serves several crucial purposes beyond simply filling the gaps between tiles. Primarily, it acts as a protective barrier, shielding the edges of tiles from chipping and preventing dirt, debris, and moisture from penetrating the subfloor or wall structure. Grout also contributes significantly to the structural integrity of the tiled assembly by locking tiles in place and distributing stress. Aesthetically, grout lines can define the pattern of your tiles, create visual contrast, or blend seamlessly to create a uniform look. Different applications and tile types necessitate specific grout characteristics to ensure optimal performance and longevity.
Main Types of Tile Grout: Cementitious vs. Epoxy
The vast majority of tile grout falls into two primary categories: cementitious and epoxy. Each type offers distinct advantages and is suited for different applications.
- Cementitious Grout: The Traditional Choice
Cementitious grout is the most common and traditional type, made from a blend of cement, sand (in sanded varieties), and water-retaining additives. It is generally more affordable and easier for DIYers to work with. However, traditional cementitious grouts are porous and require sealing to prevent staining and moisture absorption. Polymer-modified versions offer improved stain resistance and may need sealing less often, but sealing is still recommended for most wet or high-traffic areas — always check the manufacturer's instructions.
- Sanded Grout: This type contains fine sand particles, which provide strength and prevent excessive shrinkage in wider grout lines. It is typically recommended for joints 1/8 inch (3mm) or wider. The sand helps bond the grout and minimizes cracking. However, sanded grout should be avoided with polished or soft tiles (like some natural stones) as the abrasive sand can scratch the surface during application.
- Unsanded Grout: Lacking sand, this grout is smoother and adheres well to vertical surfaces without slumping. It is ideal for narrower grout joints, typically less than 1/8 inch (3mm). Unsanded grout is also preferred for use with highly polished or delicate tiles, such as marble or glazed ceramic, where sand could cause scratches.
- Epoxy Grout: The Durable Solution
Epoxy grout is a high-performance option made from epoxy resins and a hardener, making it exceptionally durable, stain-resistant, waterproof, and chemical-resistant. Unlike cementitious grout, epoxy grout is non-porous and does not require sealing. Its robust properties make it an excellent choice for demanding environments.
- Best for: High-traffic areas, commercial kitchens, bathrooms (especially showers), countertops, and anywhere stain or chemical resistance is paramount.
- Considerations: Epoxy grout is generally more expensive than cementitious types and can be more challenging to work with due to its faster cure time and more difficult cleanup process. It's crucial to work quickly and follow manufacturer instructions precisely.
Key Considerations for Choosing the Right Grout
Selecting the appropriate grout involves evaluating several factors:
- Tile Type and Joint Width: The type of tile (e.g., natural stone, ceramic, porcelain) and the width of your grout joints are primary determinants. As discussed, sanded grout suits wider joints and durable tiles, while unsanded is for narrower joints and delicate surfaces. Epoxy grout is versatile but requires careful application.
- Location and Use: Consider the environment where the tile is installed. For wet areas like showers or kitchen backsplashes, a waterproof and stain-resistant option like epoxy, or a sealed polymer-modified cementitious grout, is essential. High-traffic floors or outdoor applications may benefit from epoxy's superior durability.
- Aesthetics: Grout color can dramatically alter the appearance of your tiled surface. A matching color can create a seamless, monolithic look, while a contrasting color can highlight the tile pattern and add visual interest. Some grouts also come with glitter or metallic additives for decorative effects.
- Maintenance Requirements: Traditional cementitious grouts are porous and will require sealing periodically to prevent staining and moisture absorption, extending their lifespan and keeping them looking fresh. Epoxy grout, being non-porous, does not require sealing, making it a lower-maintenance option.
- DIY Difficulty: Cementitious grouts are generally more forgiving for DIYers due to their longer working time and easier cleanup. Epoxy grout demands faster work and more meticulous cleanup, making it potentially more challenging for those without prior experience.
Application Tips for DIYers
Proper grout application is critical for a professional finish and long-term durability:
- Preparation is Key: Ensure all tile joints are clean, dry, and free of debris or thinset residue. The depth of the joints should be consistent. Read the grout manufacturer's instructions thoroughly before starting.
- Mix Accurately: For cementitious grout, follow the water-to-powder ratio precisely to achieve a consistent, workable paste. For epoxy grout, accurately mix the resin and hardener components to ensure proper curing and performance.
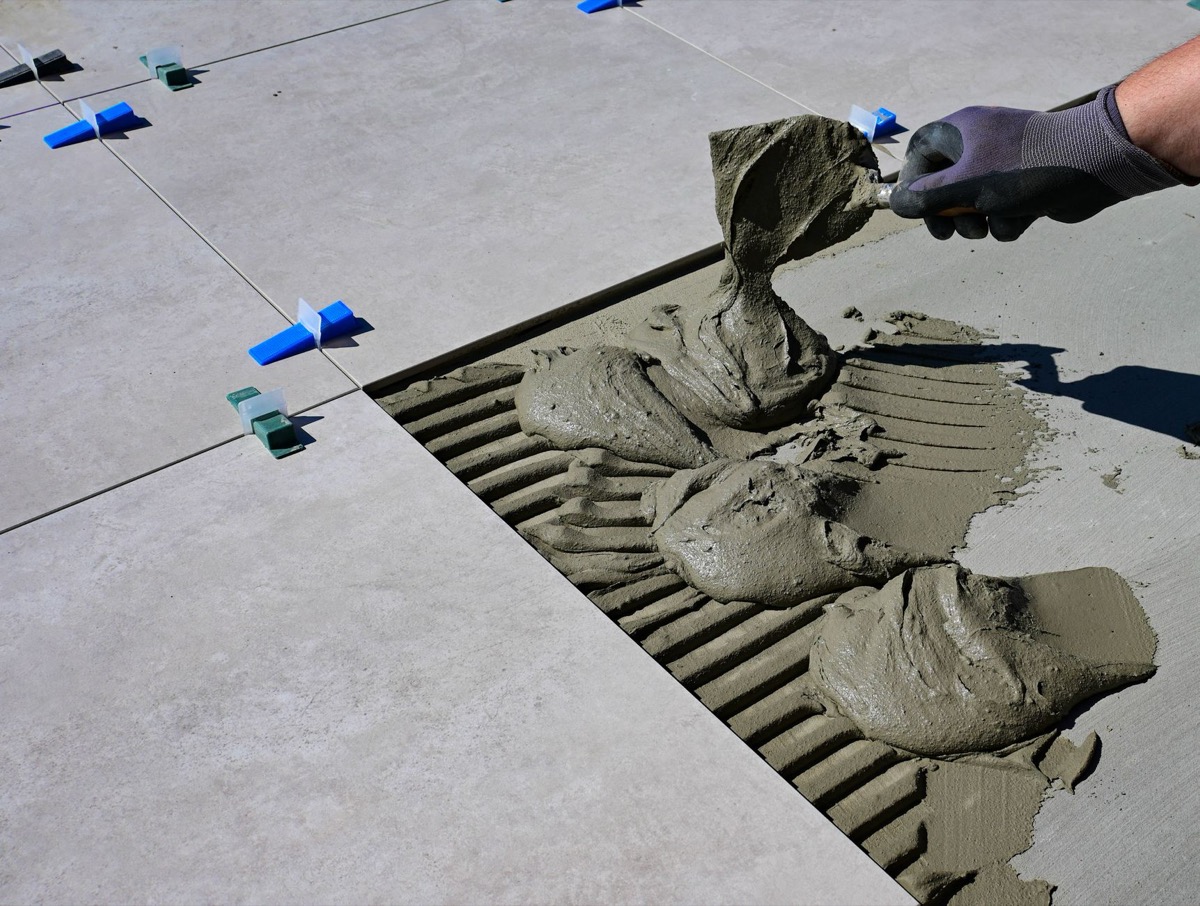
- Apply with a Float: Use a rubber grout float held at a 45-degree angle to press the grout firmly into the joints, ensuring they are completely filled. Work in small sections.
- Timely Cleanup: This is arguably the most critical step, especially with epoxy grout which sets quickly. Use a damp sponge to wipe excess grout from the tile surface, rinsing the sponge frequently. For cementitious grout, multiple passes may be needed as it dries, followed by a haze remover if necessary.
- Curing and Sealing: Allow cementitious grout to cure fully according to manufacturer directions (typically 24-72 hours) before sealing. Sealing is crucial for protecting cementitious grout from stains and moisture. Epoxy grout does not require sealing.
Estimating Your Grout Needs Accurately
Accurately estimating the amount of grout you'll need prevents waste and ensures you have enough to complete the job without interruption. Factors like tile size, joint width, and tile thickness all influence the required quantity. Over-ordering can lead to unnecessary expenses, while under-ordering can cause delays if the same grout batch isn't readily available, potentially leading to color variations.
Our free tile calculator is designed to help you precisely determine how much grout to buy for your project. Simply input your project dimensions and tile specifications, and it will provide an accurate estimate, saving you time and money and ensuring a smooth workflow. For more detailed guidance, visit our page on How to Estimate Grout and Thinset.
Tiles needed to cover 100 sq ft by tile size
Key Takeaways
- Cementitious grout is common and easy to use, coming in sanded (for wider joints) and unsanded (for narrower, delicate joints) varieties.
- Epoxy grout offers superior durability, stain resistance, and waterproofing, making it ideal for high-traffic or wet areas, though it's harder to apply.
- Always consider tile type, joint width, location, maintenance, and desired aesthetics when choosing grout.
- Proper preparation, accurate mixing, and timely cleanup are crucial for a successful grout application.
- Use our free tile calculator to accurately estimate your grout quantity, preventing waste and ensuring your project runs smoothly.
Try It Yourself — Free
Ready to start your tiling project? Use our free tile calculator to accurately estimate grout, tile, and other materials, ensuring you have everything you need. For more project planning tools and resources, explore our Flooring Calculators Hub.
Related Resources
- Bathroom Tile Estimating Checklist
- Flooring Calculator
- Flooring Calculators Hub
- Hardwood Flooring Calculator
- Complete Guide
More From Our Network
- Duct Size Calculator — same niche
- cyberfrad — our network
Sources
- IndexBox — Original report
- IndexBox — Recent market analysis indicates ongoing advancements in tile joint grouts, highlighting their critical role in construction and design.
- Tile Council of North America (TCNA) — Information on different types of grout (cementitious, epoxy, sanded, unsanded), their properties, and application considerations.